Maven - 发布到中央库
之前的文章介绍了如何编写一个Maven插件。那插件的使用上呢?在本地,我们可以安装到本地仓库,使用没问题;在SIT环境中,我们可以安装到公司内部的私有仓库中。但如果公司的Maven包尚未形成规模,不需要搭建私有仓库,且私有仓库需要有专人进行维护,如果只有少量包,可能过一段时间都忘了还有这么个东西。等到出问题了找半天,又是一个麻烦事。
上传到Maven中央库也许是一个非常好的选择,任何人在任何地方都可以使用该包,爽歪歪。
为了方便,使用OSSRH的发布方案。
步骤介绍
整个步骤大致有如下三步
- 使用JIRA申请创建一个新的Repository,用于在OSSRH申请空间。
- 向项目的pom.xml中增加必要的内容
- 部署
其中第一步需要人工审核,时间耗费比较久,按照个人经验来说半天可以搞定。
说明:如下步骤是OSSRH Guide的实践。
仓库及空间申请
创建JIRA账号
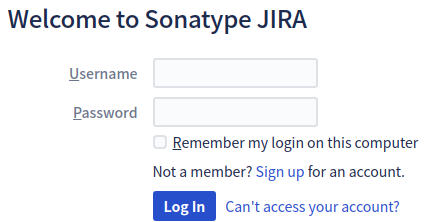
收到邮件代表创建成功。
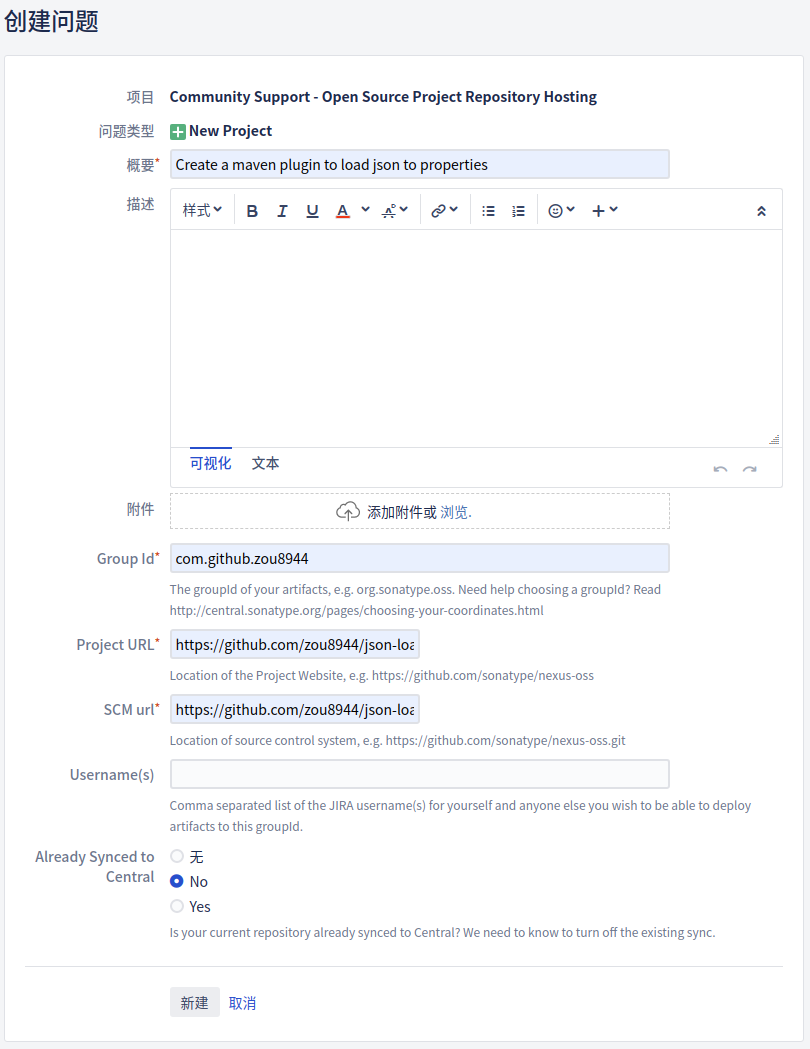
新建工单
还是登录Snatype JIRA
依次填入概要、Group Id、Project URL(项目URL,可填github项目主页)、SCM url(项目版本控制链接)
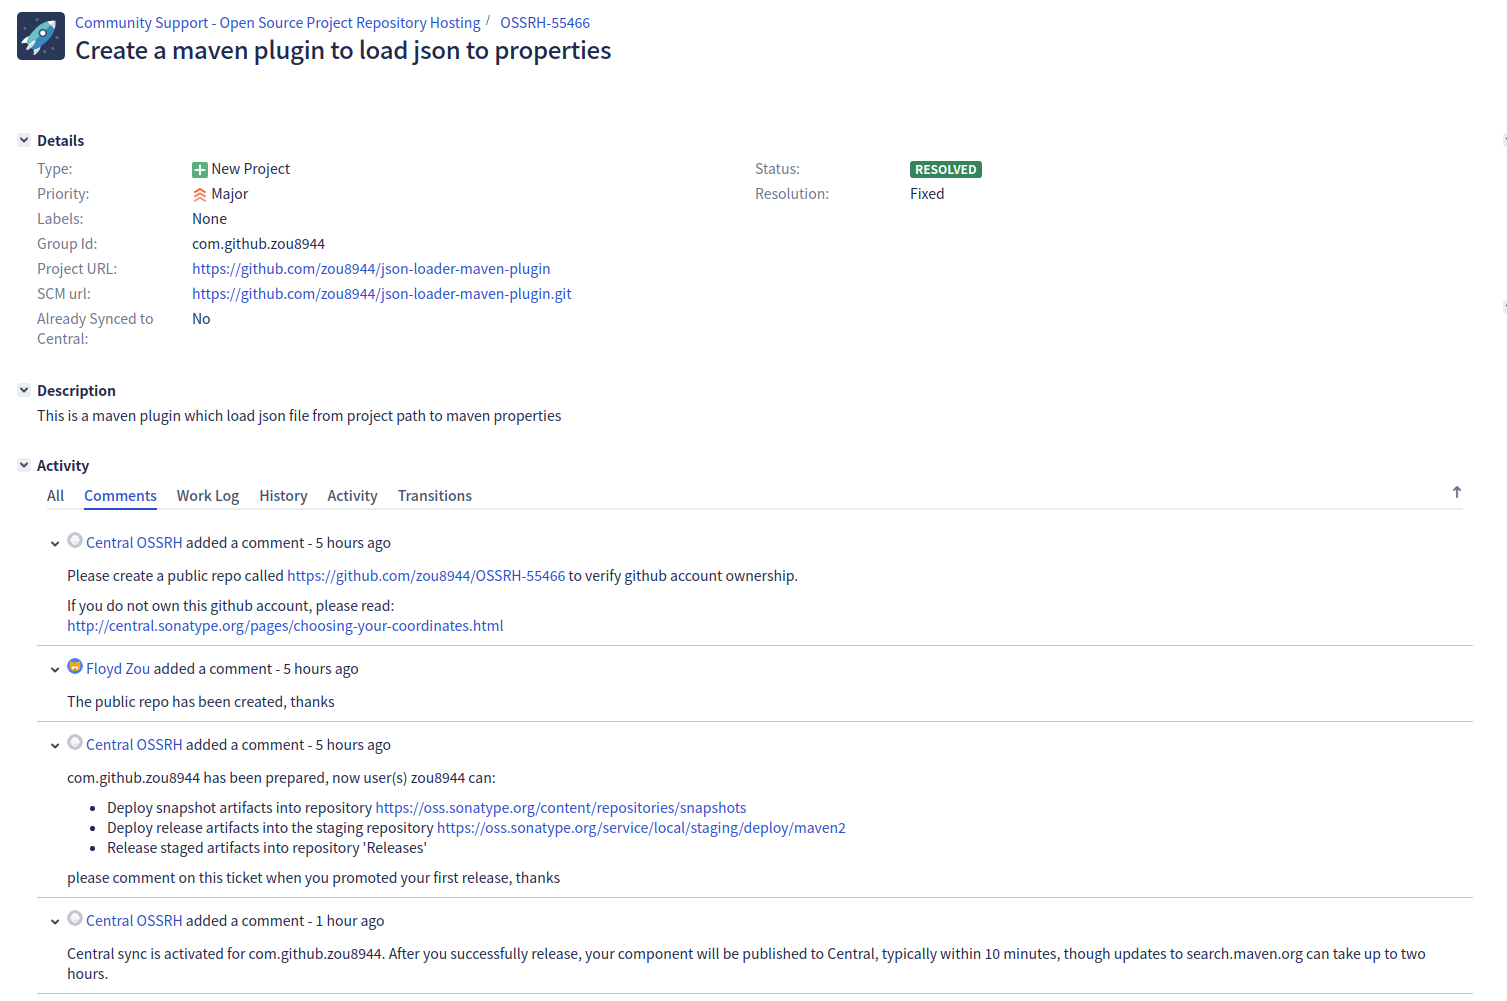
工单创建成功后需要等待邮件确认,反复几个来回后才能正常发布。下图是截止申请成功的所有交流。可以看到会有如下几个步骤
- 创建工单
- 在自己的github主页下创建一个它要求的repository以完成验证
- 验证完成,允许用户发布组件到仓库
- 申请的Group Id激活,用户发布的组件能够被同步到中央仓库(但要花两个小时)
GPG签名准备
组件发布之前,需要进行GPG签名,发布到服务器后,服务器会使用公钥对组件进行校验。关于GPG的介绍和详细解读,大家可以参考这篇文章。这里涉及到几个点
安装gnupg工具
1
2
3
4
5
6
7
8
9
10
11
12
13
14
15
16
17
18
# 安装
$ sudo apt install gnupg
# 安装成功与否的验证
$ gpg --version
gpg (GnuPG) 2.2.4
libgcrypt 1.8.1
Copyright (C) 2017 Free Software Foundation, Inc.
License GPLv3+: GNU GPL version 3 or later <https://gnu.org/licenses/gpl.html>
This is free software: you are free to change and redistribute it.
There is NO WARRANTY, to the extent permitted by law.
Home: /home/floyd/.gnupg
支持的算法:
公钥: RSA, ELG, DSA, ECDH, ECDSA, EDDSA
密文: IDEA, 3DES, CAST5, BLOWFISH, AES, AES192, AES256, TWOFISH,
CAMELLIA128, CAMELLIA192, CAMELLIA256
散列: SHA1, RIPEMD160, SHA256, SHA384, SHA512, SHA224
压缩: 不压缩, ZIP, ZLIB, BZIP2生成密钥对
1
2
3
4
5
6
7
8
9
10
# 执行如下命令,提示填入真实姓名和邮箱,并设置密码
$ gpg --gen-key
# 查看刚才生成的密钥
$ gpg --list-key
/home/floyd/.gnupg/pubring.kbx
------------------------------
pub rsa3072 2020-02-29 [SC] [有效至:2022-02-28]
EB3877C670A794E0238E66E1D4420641AADB285E
uid [ 绝对 ] Zou Guodong <[email protected]>
sub rsa3072 2020-02-29 [E] [有效至:2022-02-28]上面生成的秘钥,其中EB3877C670A794E0238E66E1D4420641AADB285E是用户ID,记住,下一步会使用
发送公钥到 key server
这一步非常重要,否则OSSRH会因为无法验证发布的组件而导致发布失败。
1
gpg --send-key EB3877C670A794E0238E66E1D4420641AADB285E
如果发送成功,你可能会收到opengpg发送的邮件
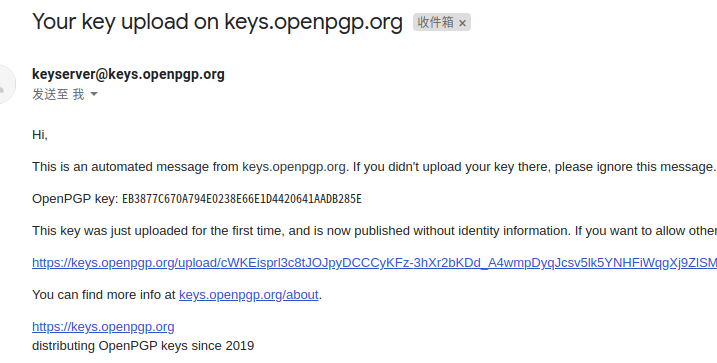
但这一步很可能会遇到问题,这在后面的问题集中有介绍
在pom.xml中配置插件(在POM修改中有对应说明)
在setting.xml中配置要使用的gpg工具 (在setting.xml修改中有对应说明)
pom.xml修改
添加POM必备项
项目基础信息
1
2
3
4
5
6
7<groupId>com.example.applications</groupId>
<artifactId>example-application</artifactId>
<version>1.4.7</version>
<name>${project.groupId}:${project.artifactId}</name>
<description>A application used as an example on how to set up pushing its components to the Central Repository.</description>
<url>http://www.example.com/example-application</url>证书
1
2
3
4
5
6<licenses>
<license>
<name>The Apache License, Version 2.0</name>
<url>http://www.apache.org/licenses/LICENSE-2.0.txt</url>
</license>
</licenses>开发者信息
1
2
3
4
5
6
7
8<developers>
<developer>
<name>Manfred Moser</name>
<email>[email protected]</email>
<organization>Sonatype</organization>
<organizationUrl>http://www.sonatype.com</organizationUrl>
</developer>
</developers>SCM信息
即版本控制信息
1
2
3
4
5<scm>
<connection>scm:git:git://github.com/simpligility/ossrh-demo.git</connection>
<developerConnection>scm:git:ssh://github.com:simpligility/ossrh-demo.git</developerConnection>
<url>http://github.com/simpligility/ossrh-demo/tree/master</url>
</scm>
添加发布相关插件
Javadoc 和 源码打包插件
1
2
3
4
5
6
7
8
9
10
11
12
13
14
15
16
17
18
19
20
21
22
23
24
25
26<plugin>
<groupId>org.apache.maven.plugins</groupId>
<artifactId>maven-source-plugin</artifactId>
<version>2.2.1</version>
<executions>
<execution>
<id>attach-sources</id>
<goals>
<goal>jar-no-fork</goal>
</goals>
</execution>
</executions>
</plugin>
<plugin>
<groupId>org.apache.maven.plugins</groupId>
<artifactId>maven-javadoc-plugin</artifactId>
<version>2.9.1</version>
<executions>
<execution>
<id>attach-javadocs</id>
<goals>
<goal>jar</goal>
</goals>
</execution>
</executions>
</plugin>GPG签名插件
在发布到中央库前,需要对所有生成文件签名。可以手动执行,但使用插件会方便很多
1
2
3
4
5
6
7
8
9
10
11
12
13
14<plugin>
<groupId>org.apache.maven.plugins</groupId>
<artifactId>maven-gpg-plugin</artifactId>
<version>1.5</version>
<executions>
<execution>
<id>sign-artifacts</id>
<phase>verify</phase>
<goals>
<goal>sign</goal>
</goals>
</execution>
</executions>
</plugin>
Nexu暂存插件
1
2
3
4
5
6
7
8
9
10
11<plugin>
<groupId>org.sonatype.plugins</groupId>
<artifactId>nexus-staging-maven-plugin</artifactId>
<version>1.6.7</version>
<extensions>true</extensions>
<configuration>
<serverId>ossrh</serverId>
<nexusUrl>https://oss.sonatype.org/</nexusUrl>
<autoReleaseAfterClose>true</autoReleaseAfterClose>
</configuration>
</plugin>
Setting.xml修改
JIRA账号
设置准备阶段设置的账号密码,以便mvn能够连接到服务器
1 | <settings> |
GPG
添加如下配置,指定加密工具
1 | <settings> |
我的配置
作为参考,给出我的配置,看这里
发布
上述内容准备好后,可以执行如下命令进行发布。
1 | mvn clean deploy |
需要注意的是,如果我们发布的版本是release版本,即版本号不以-SNAPSHOT结尾,且刚才配置的Nexus暂存插件的autoReleaseAfterClose设置为true时,执行上述命令后,OSSRH会自动发送到中央库。
至此,发布完成。更多步骤请参考官方文档。官方文档中提供了完整的发布开发版、release版的方式,可供参考。
效果
执行成功,等待大约两个小时,你就能在中央库查询到自己的组件了。例如搜索我刚才发布的组件。

点击进入,可以查看详情,这里
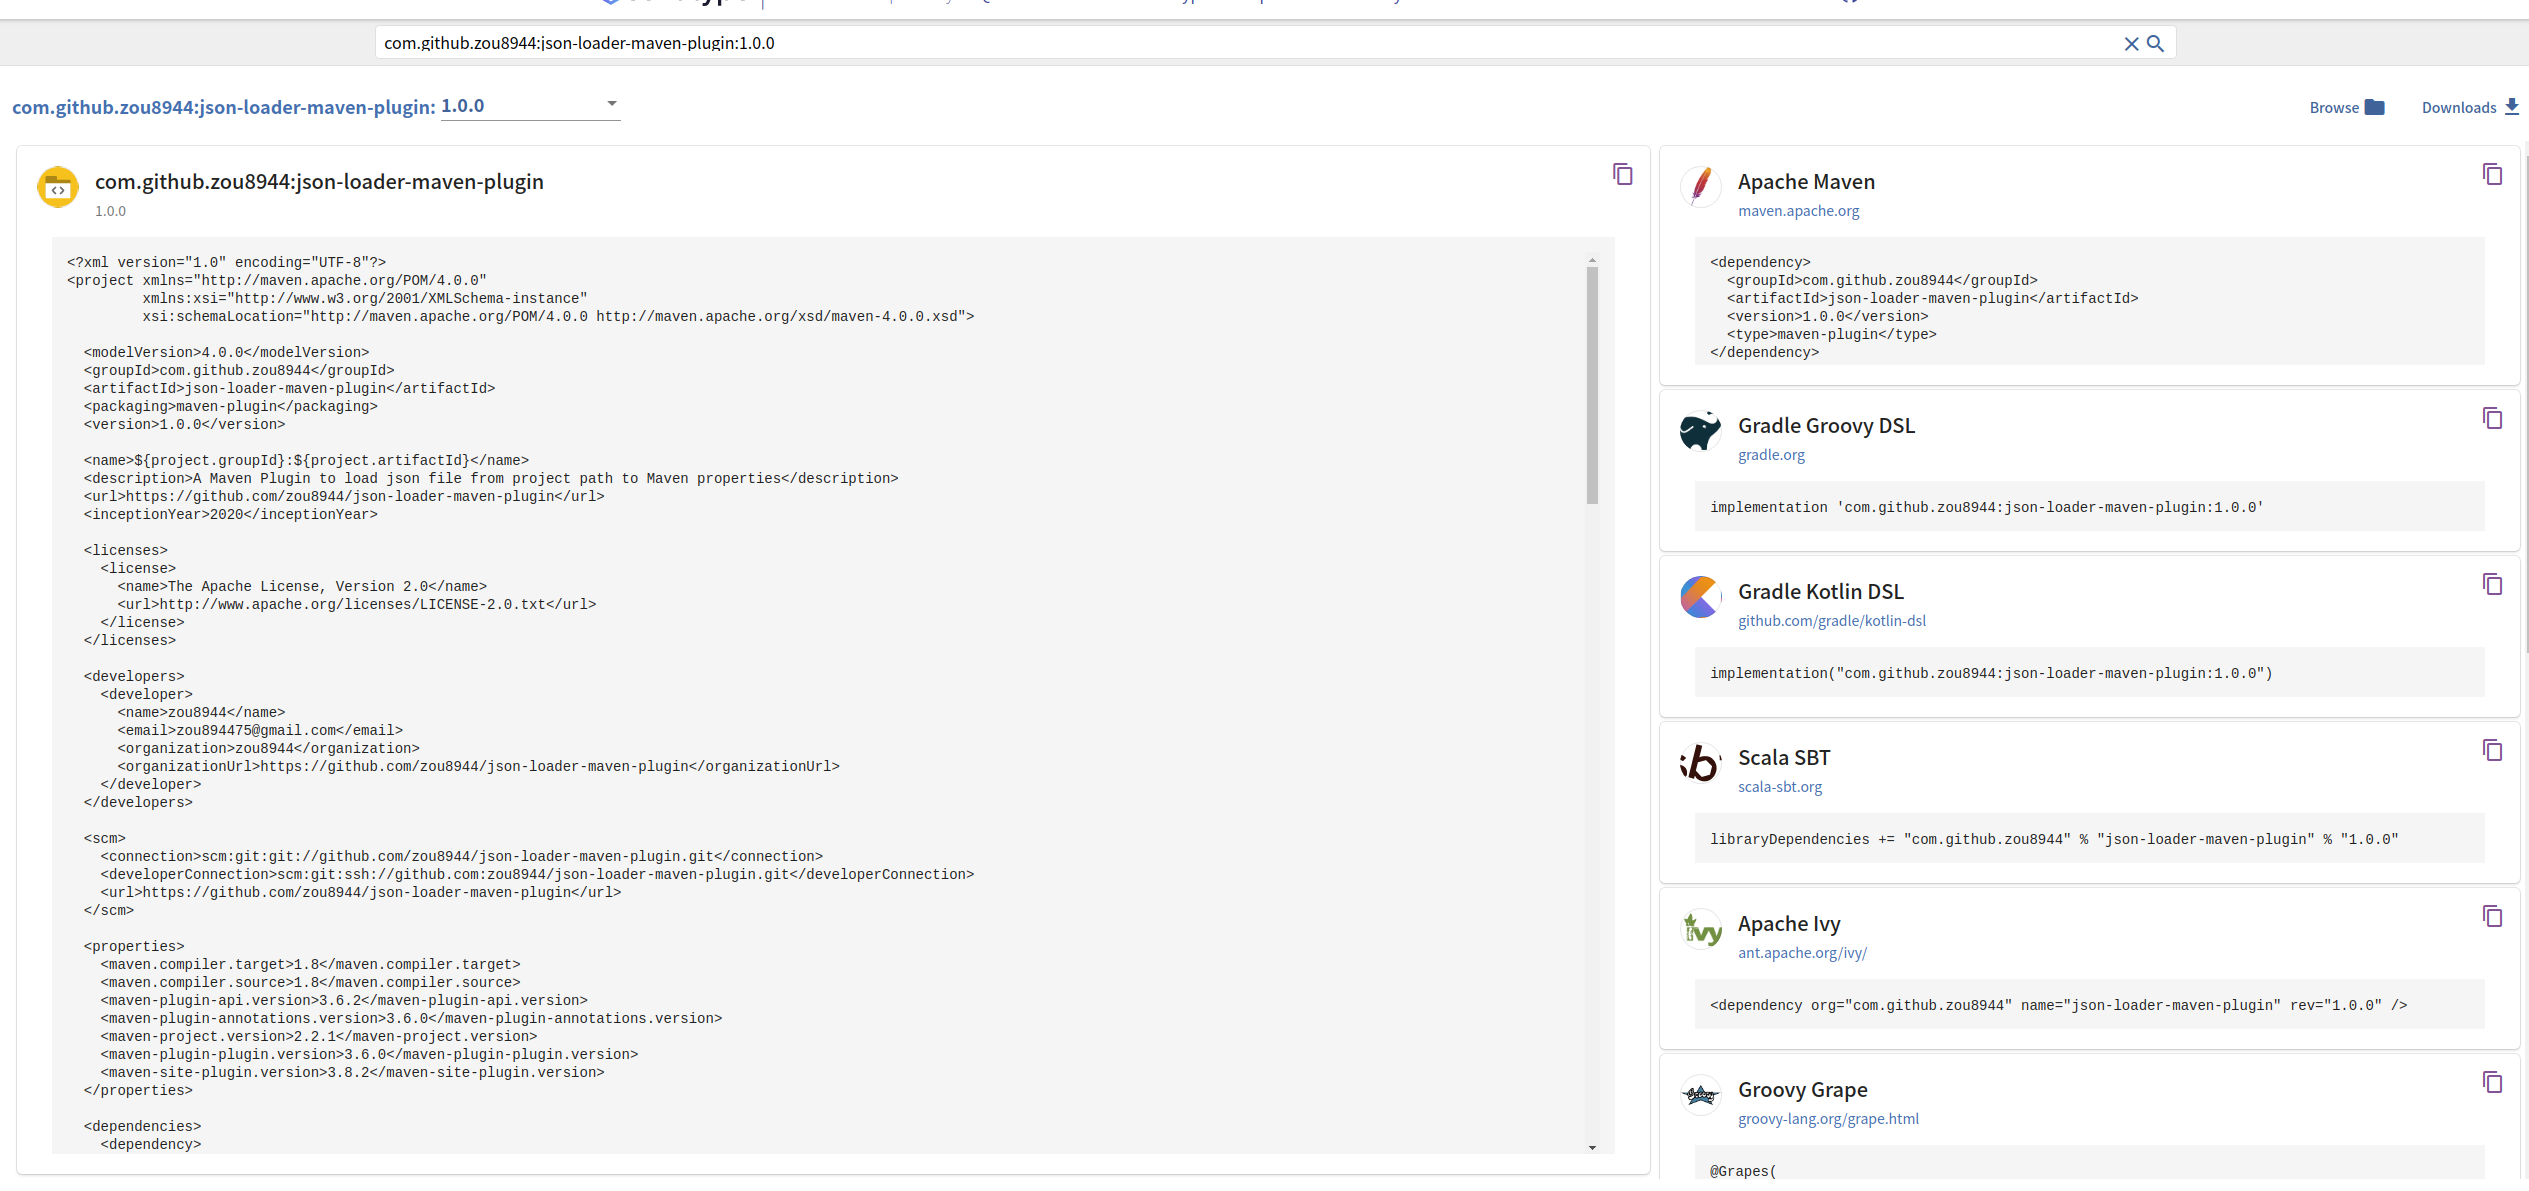
而作为一个插件,可以通过如下方式使用它
1 | <plugin> |
踩过的坑
在snatype上无法找到对应的profile
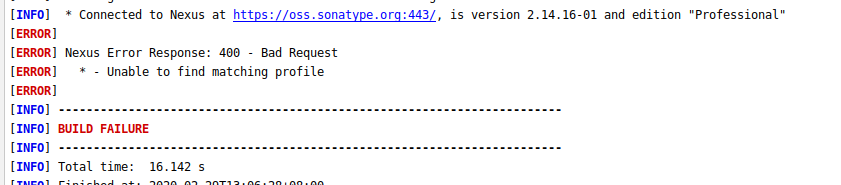
该问题是由于pom的GroupId和第一步申请JIRA账号时指定的GroupId不一致导致,修改本地使得一致即可
组件上传成功,但服务端签名校验失败

该问题在于没有上传本地生成的密钥对。执行
gpg --send-key <ID>生成即可。上传后,收到opengpg发来的邮件才能确认上传成功。pgp上传秘钥失败
前后报过两个错,分别是上传失败和服务器拒绝连接。网上找了很多解决方案对我都无效。最终使用如下终极方法
1
2
3
4
5
6
7
8
# 删除整个.gnupg目录
sudo rm -r ~./gnupg
# 重新生成秘钥,不能加sudo
gpg --gen-key
# 执行如下命令,这是解决服务器拒绝连接的关键
pkill dirmngr
# 再次发送
gpg --send-key <ID>
总结
本文主要以实践为主,介绍了如果将本地项目发布到Maven中央库。尽管没有什么原创的内容,但价值在于踩坑。